Building Modern Serverless APIs with CDK, Python, and GraphQL (Part 2)
Designing Event Driven Applications

I love creating and writing about the creation of software.
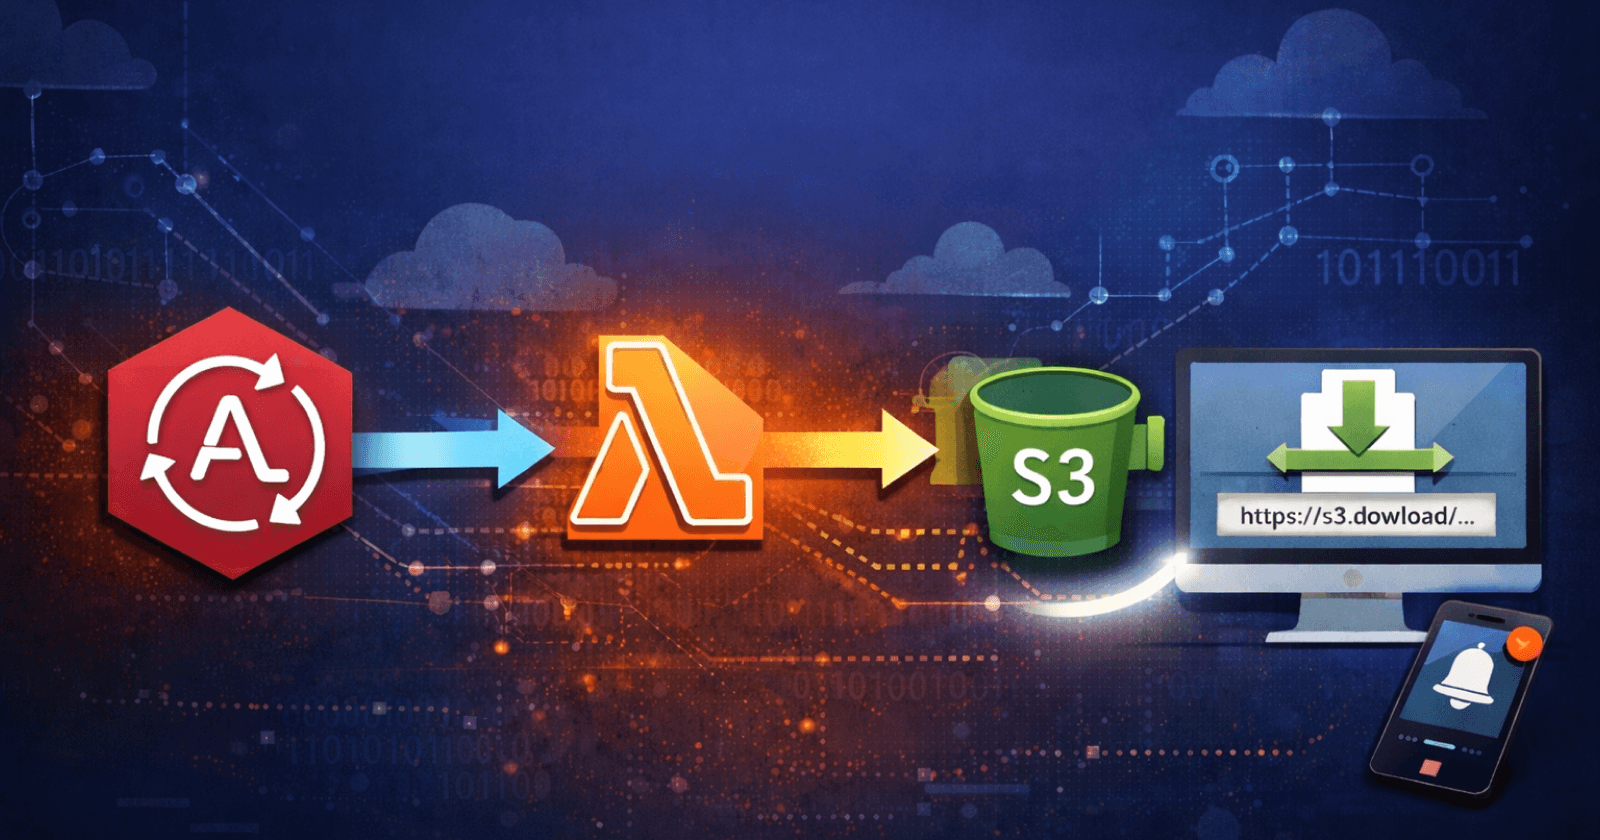
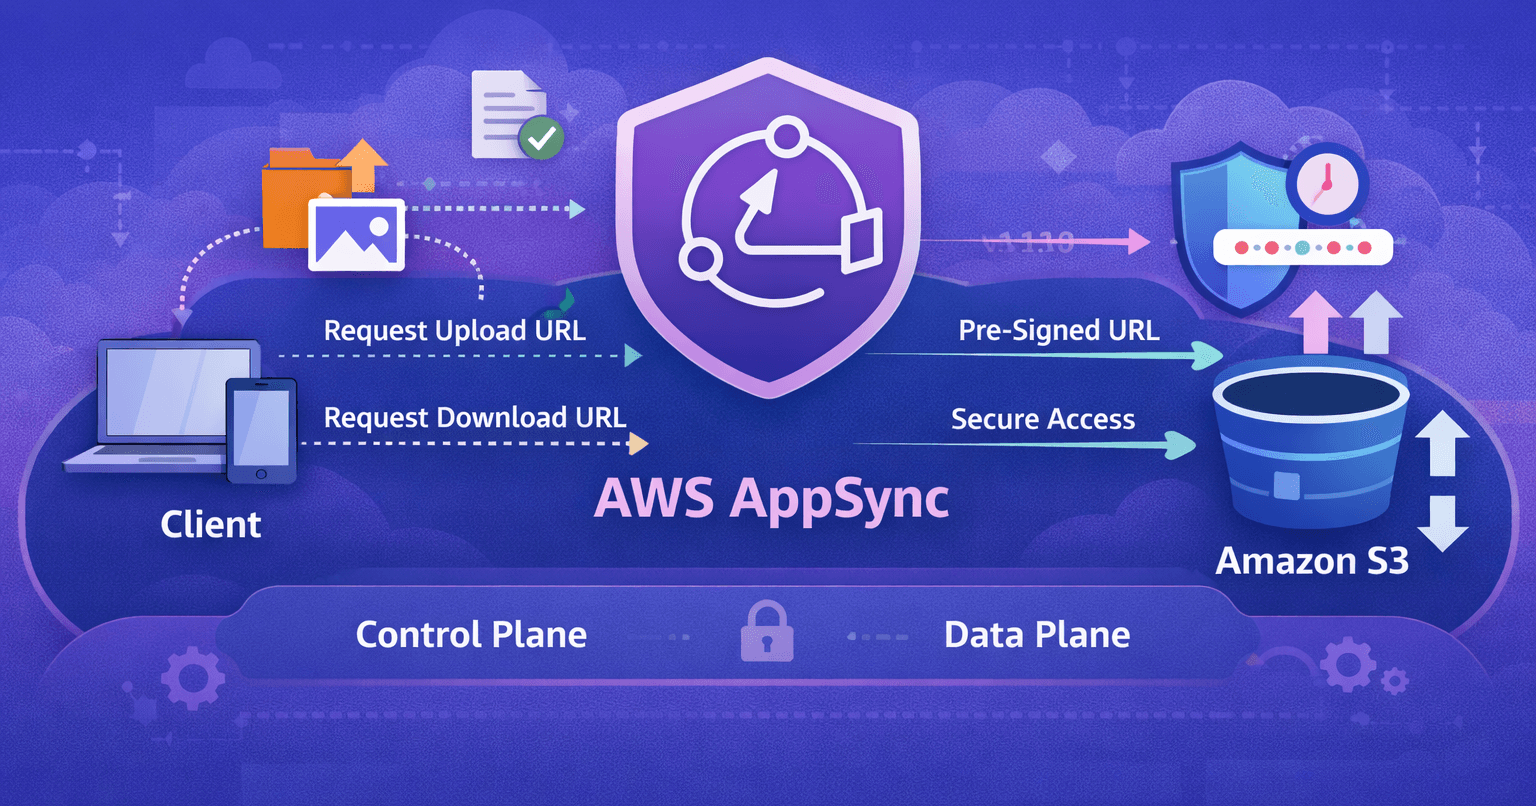
In the first part of this article series, we gave a brief overview of the concept of event-driven architectures, coupling, and defined all AWS services needed to build the API.
Let's proceed.
Prerequisite
Before proceeding, please confirm you have all these dependencies installed on your computer
Creating a new CDK python project
From the command line interface (Terminal), create and change the directory into the newly created folder using the command
mkdir eventDrivenCdk && cd $_
I named my project eventDrivenCdk, feel free to give yours a different name.
Within the newly created project, initialize a python CDK project using the command
cdk init --language=python
This project is set up like a standard Python project. The initialization process also creates a virtualenv within this project, stored under the .venv directory.
To create the virtualenv it assumes that there is a python3 (or python for Windows) executable in your path with access to the venvpackage.
If for any reason the automatic creation of the virtualenv fails, you can create the virtualenv manually.
To manually create a virtualenv on MacOS and Linux:
$ python3 -m venv .venv
After the init process completes and the virtualenv is created, you can use the following step to activate your virtualenv.
$ source .venv/bin/activate
If you are a Windows platform, you would activate the virtualenv like this:
% .venv\Scripts\activate.bat
Once the virtualenv is activated, you can install the required dependencies.
Add boto3 to the requirements.txt before running the command.
$ pip install -r requirements.txt
Boto3 is the aws sdk for python.
Graphql Schema
In the root directory, create a file called schema.graphql and type in the following code. This file is a description of our Graphql API. It contains all the types, queries, mutations, and subscriptions for our Graphql API.
type Schema {
    query: Query
    mutation: Mutation
}

type Order {
    name: String!
    quantity: Int!
    restaurantId: String!
}

input OrderInput {
    name: String!
    quantity: Int!
    restaurantId: String!
}

input UpdateOrderInput {
    id: String!
    name: String!
    quantity: Int!
    restaurantId: String!
}

type Query {
    orders: [Order ]!
    order(id: String!): Order!
}

type Mutation {
    postOrder(input: OrderInput!): Order!
    updateOrder(input: UpdateOrderInput!): Order!
    deleteOrder(id: String!): String
}
From the schema, our API has 3 mutations and 2 queries. Before delving into the implementation details of these endpoints, we need to first define all the resources the app needs in order to run effectively.
Defining the GraphQL API in Stack
The first step is to import the appsync class from the aws-cdk-lib.
import aws_cdk.aws_appsync as appsync
Then, use the CfnGraphQLApi method within the appsync class to create the API. This method takes a myriad of parameters, but for our use case, all we need is an API name, the authentication type, x-ray, and cloudwatch for tracing and logging.
        api = appsync.CfnGraphQLApi(self, "Api",
                                    name="event_driven_cdk",
                                    authentication_type="API_KEY",
                                    xray_enabled=True,
                                    log_config=log_config
                                    )
   log_config = appsync.CfnGraphQLApi.LogConfigProperty(
            cloud_watch_logs_role_arn=appsync_cloud_watch_role.role_arn,
            exclude_verbose_content=False,
            field_log_level="ALL")
This line cloud_watch_logs_role_arn=appsync_cloud_watch_role.role_arn, gives AppSync permissions to push logs to CloudWatch. Here's how we define the role and attach its policies.
  cloud_watch_role_full_access = iam.ManagedPolicy.from_managed_policy_arn(self, "cloudWatchLogRole",
                                                                                 'arn:aws:iam::aws:policy/CloudWatchLogsFullAccess')

 appsync_cloud_watch_role = iam.Role(self, "AppSyncCloudWatchRole",
                                            assumed_by=iam.ServicePrincipal("appsync.amazonaws.com"),
                                            managed_policies=[
                                                cloud_watch_role_full_access
                                            ])
After creating the API, the next logical step is to attach the schema. We use the CfnGraphQLSchema method from the AppSync class to achieve this. This method takes in a scope, an id, an api_id which should be a unique AWS Appsync GraphQL API identifier, and a definition (the schema file itself).
dirname = path.dirname(__file__)

with open(os.path.join(dirname, "../schema.graphql"), 'r') as file:
    data_schema = file.read().replace('\n', '')
schema = appsync.CfnGraphQLSchema(scope=self, id="schema", api_id=api.attr_api_id, definition=data_schema)
Defining the Queue
Let's define and attach the SQS queue to AppSync. Firstly, we import the SQS class from cdk.
import aws_cdk.aws_sqs as sqs
Then, we'll create 2 queues and use one as the Dead letter queue (DLQ). A Dead letter Queue is a message queue that'll store all the messages that couldn't be processed successfully. The developer can always go back to the DLQ and redrive the unsuccessful messages.
        # SQS
        queue = sqs.CfnQueue(
            self, "CdkAccelerateQueue",
            visibility_timeout=300,
            queue_name="sqs-queue"
        )

        deadLetterQueue = sqs.Queue(
            self, "CdkAccelerateDLQueue",
            visibility_timeout=Duration.minutes(10),
            queue_name="dead-letter-queue"
        )

        sqs.DeadLetterQueue(max_receive_count=4, queue=deadLetterQueue)
The visibility_timeout is the time taken for a consumer to process and delete a message once dequeued. While this timeout is valid, the message is made unavailable to other consumers. If the timeout expires when the message hasn't been successfully processed and delivered, the message is sent back into the queue and made available for other consumers to pick up.
If you don't specify a value for the visibility_timeout, AWS CloudFormation uses the default value of 30 seconds. Default: Duration.seconds(30)
The max_receive_count is the number of times a message can be unsuccessfully dequeued before being moved to the dead-letter queue. We set the value to 4, meaning after 4 unsuccessful dequeue attempts, that message would be sent to the DLQ.
Now, let's attach the SQS queue to Appsync.
api.add_dependency(queue)
That's all. Remember the name of the GraphQL API we created above was api.
Defining DynamoDB Resources
Import the dynamodb class for cdk.
import aws_cdk.aws_dynamodb as dynamodb
Create a table called ORDER with a composite key.
user_id for the primary key and id as the sort key.
        # DynamoDB
        dynamodb.CfnTable(self, "Table",
                          key_schema=[dynamodb.CfnTable.KeySchemaProperty(
                              attribute_name="user_id",
                              key_type="HASH"
                          ),
                              dynamodb.CfnTable.KeySchemaProperty(
                                  attribute_name="id",
                                  key_type="RANGE"
                              )],
                          billing_mode="PAY_PER_REQUEST",
                          table_name="ORDER",
                          attribute_definitions=[dynamodb.CfnTable.AttributeDefinitionProperty(
                              attribute_name="user_id",
                              attribute_type="S"
                          ),
                              dynamodb.CfnTable.AttributeDefinitionProperty(
                                  attribute_name="id",
                                  attribute_type="S"
                              )]
                          )
Defining SNS Resources
Create an SNS topic with the topic name sns-topic. As usual, we'll import the SNS class from AWS CDK
from aws_cdk import aws_sns as sns
Then use CfnTopic and CfnTopicPolicy methods from the SNS class to create and grant policies to the SNS topic.
        cfn_topic = sns.CfnTopic(self, "MyCfnTopic",
                                 display_name="sns-topic",
                                 fifo_topic=False,
                                 topic_name="sns-topic"
                                 )

        sns_publish_policy = sns.CfnTopicPolicy(self, "MyCfnTopicPolicy",
                                                policy_document=iam.PolicyDocument(
                                                    statements=[iam.PolicyStatement(
                                                        actions=["sns:Publish", "sns:Subscribe"
                                                                 ],
                                                        principals=[iam.AnyPrincipal()],
                                                        resources=["*"]
                                                    )]
                                                ),
                                                topics=[cfn_topic.attr_topic_arn]
                                                )
Bear in mind that, we've assumed the client is already signed in to our application at this point. So we have their email address. We'll use that email address to subscribe to the SNS topic to receive email updates on success or failed order payments.
For the purpose of this tutorial, we'll pass in the email address as a parameter from the CLI, when deploying the application later.
For now, we need to add email as a subscriber using the CfnSubscription method from the SNS class.
        email_address = CfnParameter(self, "subscriptionEmail")
        sns.CfnSubscription(self, "EmailSubscription",
                            topic_arn=cfn_topic.attr_topic_arn,
                            protocol="email",
                            endpoint=email_address.value_as_string

                            )
Conclusion
In this episode,
We Created A GraphQL API and attached a schema to it.
Created and attached a queue to the AppSync API.
Created a Dead Letter Queue to catch unprocessed messages.
Created an SNS topic, with an email as a subscriber.
Gave IAM roles and policies to all created resources.
In the next episode, we'll continue creating more resources for the API. Please stay tuned. Thanks for reading. If you enjoyed it, please leave a like or a comment. I'll love to know what you think. Take Care.